Carving Turns: Enhance Your Skiing Experience
September 5, 2024 | Skiing Technique, Skiing Tips
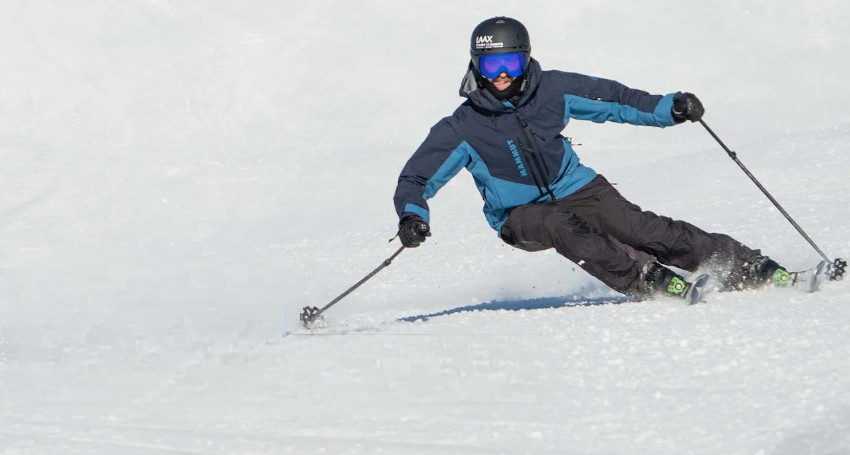
Hello fellow skiers! Whether you’re still skidding around the mountain or starting to carve, this video by Stomp It Camps is for you. It’s time to enhance your skiing skills and enjoy an epic time on the slopes carving with friends. In this post, we’ll break down the accompanying video and cover how skis work, explore some beginner drills, and address common challenges faced by skiers.
Check out Stomp It Camps and book your spot to improve your freestyle or general skiing
Main Objective – Carving!
The primary aim of this video is to provide actionable tips and drills for beginner and intermediate skiers to improve their carving technique on skis. Understanding the mechanics of carving will help you execute carved turns more effectively, leading to better control and enjoyment on the slopes.
Understanding Your Skis
To improve your carving technique, it’s crucial to understand the shape of your skis. A carving ski has a narrower waist and wider tips and tails, which allows for different turn radii based on the edge angle:
- Low Edge Angle: When you have a low edge angle, the ski bends slightly, allowing for long turns with a larger radius (around 20 meters).
- High Edge Angle: Increasing the edge angle enables the ski to bend more, allowing for sharper turns with a shorter radius.
Skidded vs. Carved Turns
There’s a significant difference between skidded parallel turns and clean carved turns:
- Skidded Parallel Turn: Here, you steer the skis by rotating your feet, which is effective for short turns and powder.
- Clean Carved Turn: This involves shifting from edge to edge, cutting through the snow smoothly and leaving a clean track.
Getting Started: Baby Steps to Carving
- Find the Right Slope: Look for a flat slope with minimal traffic.
- Feel the Carve: Stand on your skis at a slight angle and push yourself forward to feel the skis begin to carve.
- Aim Downhill: Gradually aim your skis further down the slope and enjoy the sensation of sliding.
Beginner Drills
Here are some drills you can practice:
- Straight Run: Stand on a flat slope and let the skis carve naturally without any effort.
- Traversing: Aim the skis slightly downhill and let them carve across the slope.
- J-Turns: Aim the skis more downhill, allow speed to build up, and roll your knees and hips to initiate a carved J-shaped turn.
- Railroad Turns: Practice rolling your feet and knees in unison from edge to edge.
Achieving Critical Edge Angles
For C-shaped carved turns, aim for critically high edge angles. This is essential for maintaining control and carving cleanly without skidding. The video shows how increased pressure helps achieve this while navigating varying terrain conditions.
Improving Transitions Between Turns
To enhance transitions, practice leaning onto your poles and allowing yourself to fall into turns. This technique helps achieve higher edge angles early in each turn.
Toppling Technique
The “toppling” motion involves falling into the new turn, which can help initiate carving effectively. It’s important to combine this with angulation as you progress.
The Art of Mad Angles
Mad angles represent advanced carving techniques:
- Inclination: Maintain strong alignment of your skeleton to resist forces effectively.
- Toppling Motion: Roll into turns like a tree falling over to create powerful angles.
Common Challenges and Solutions
- Skidding: If your skis are skidding instead of carving, it may be due to insufficient edge angle or rushing the turn initiation.
- Uneven Carving: If the distance between ski tracks changes, it could indicate uneven foot angling. A suggested drill involves using ski poles to keep your knees aligned.
- Leaning Too Far Forward: Leaning too far forward can cause the tails to lose grip. Maintain a centered position over your skis.
Final Thoughts: Play with Your Skills
As you develop your carving skills, think of yourself as an artist painting lines on the snow. Try different shapes and sizes while enjoying the ride.
Action List
For Beginner Skiers:
- Practice straight runs, traversing, and J-turn drills on flat slopes.
- Focus on rolling feet and knees in unison for railroad turns.
- Experiment with the “toppling” motion.
For Intermediate Skiers:
- Work towards achieving critically high edge angles for different terrain.
- Incorporate inclination, toppling, and hip angulation for “mad angles.”
- Experiment with various turn shapes and sizes.
For All Skiers:
- Analyze your ski tracks to identify issues like skidding or uneven carving.
- Consider joining instructor-led ski technique camps for personalized coaching.
Happy skiing!
More Posts
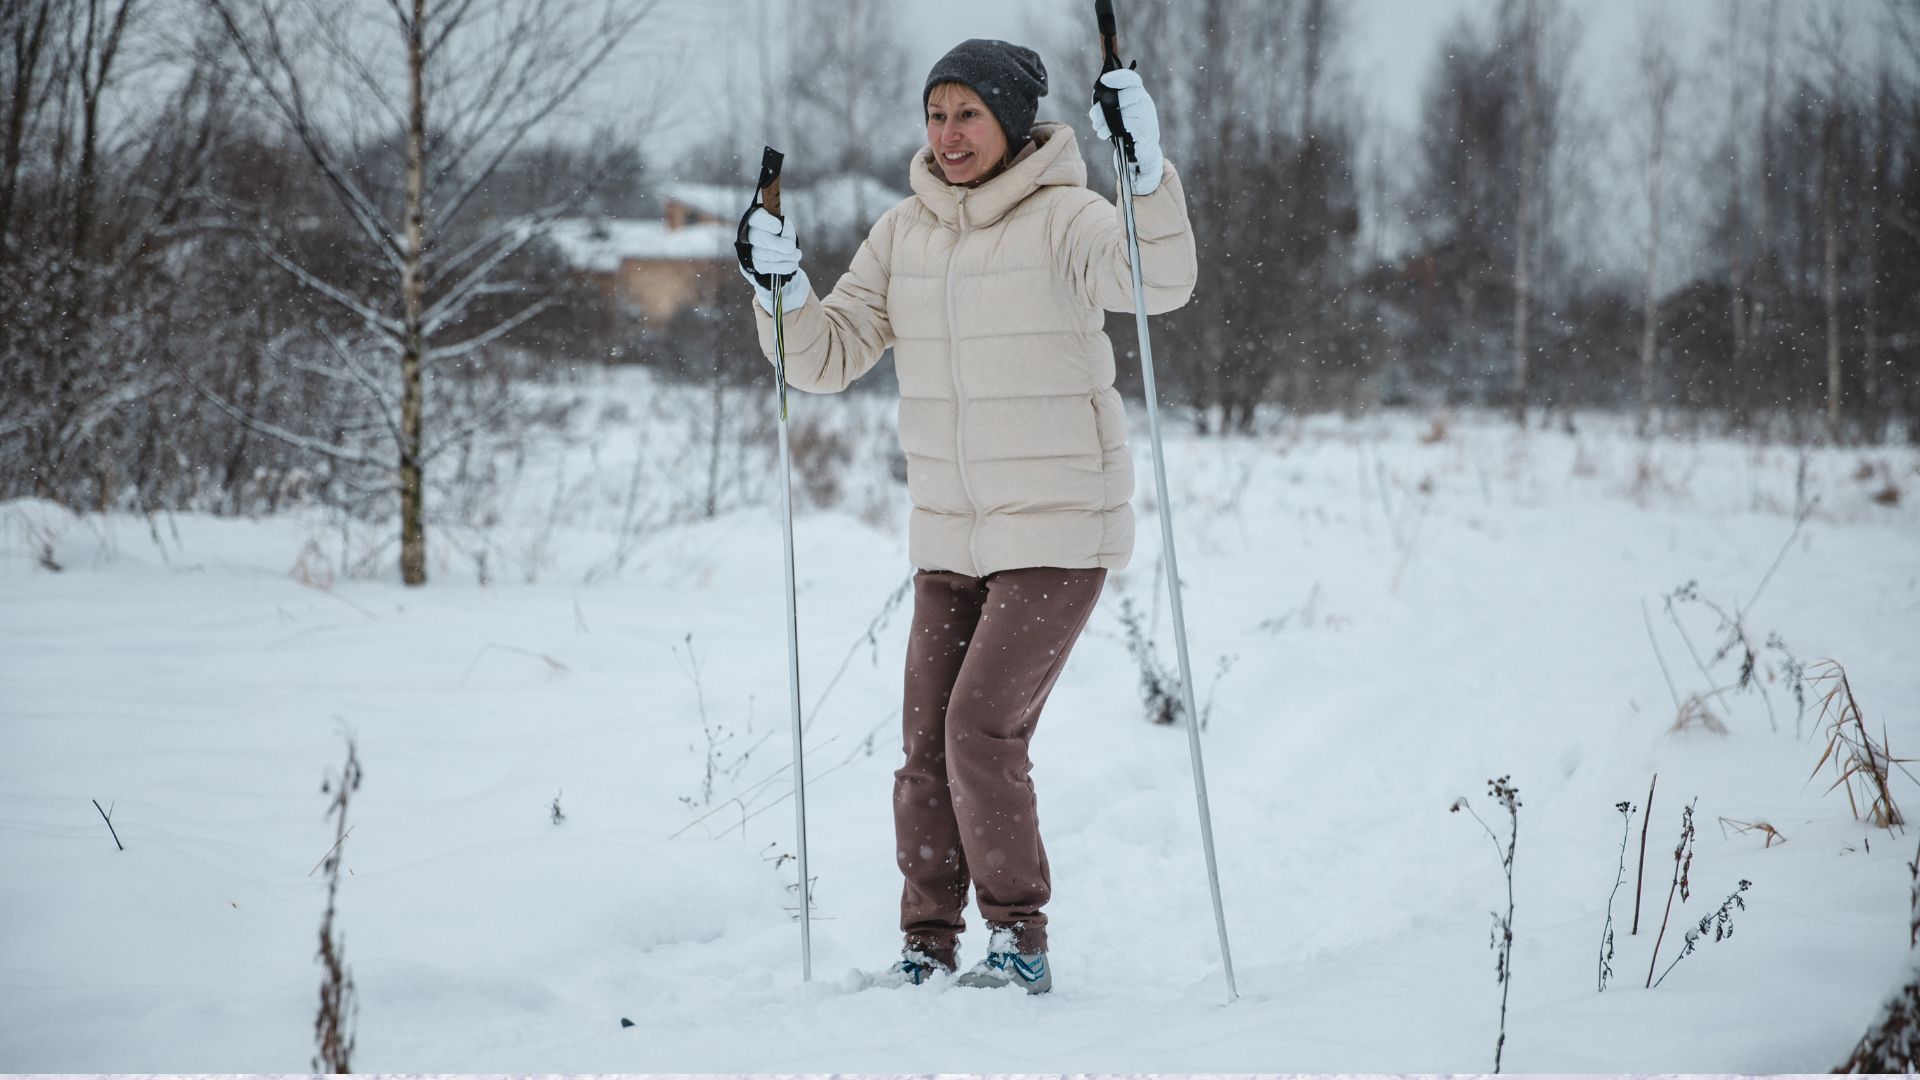
Cross‑Country Skiing: Techniques for Beginners
Cross‑country skiing is an exciting and rewarding winter sport that offers both a great workout...
read More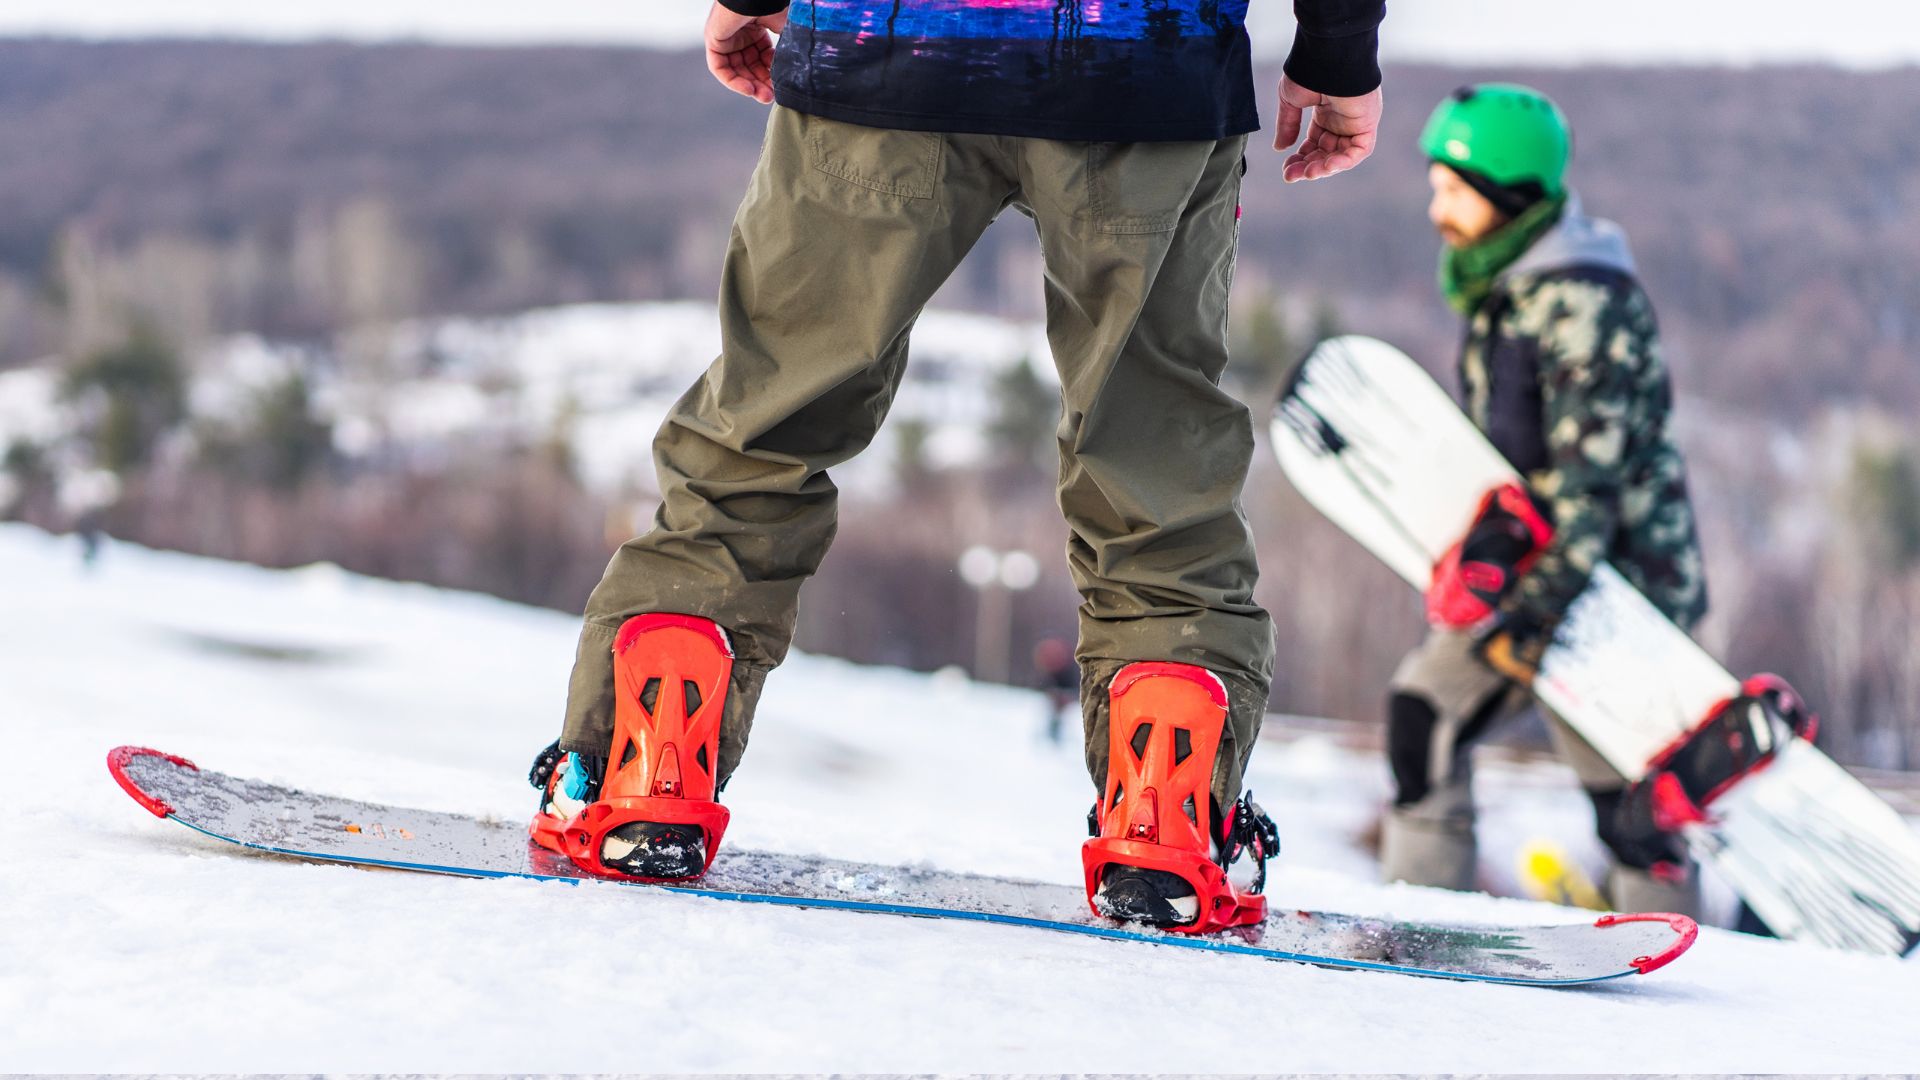
Snowboarding Boots: Essential Gear for 2026
Snowboarding boots are an essential part of your snowboarding gear, offering comfort, support, and performance...
read More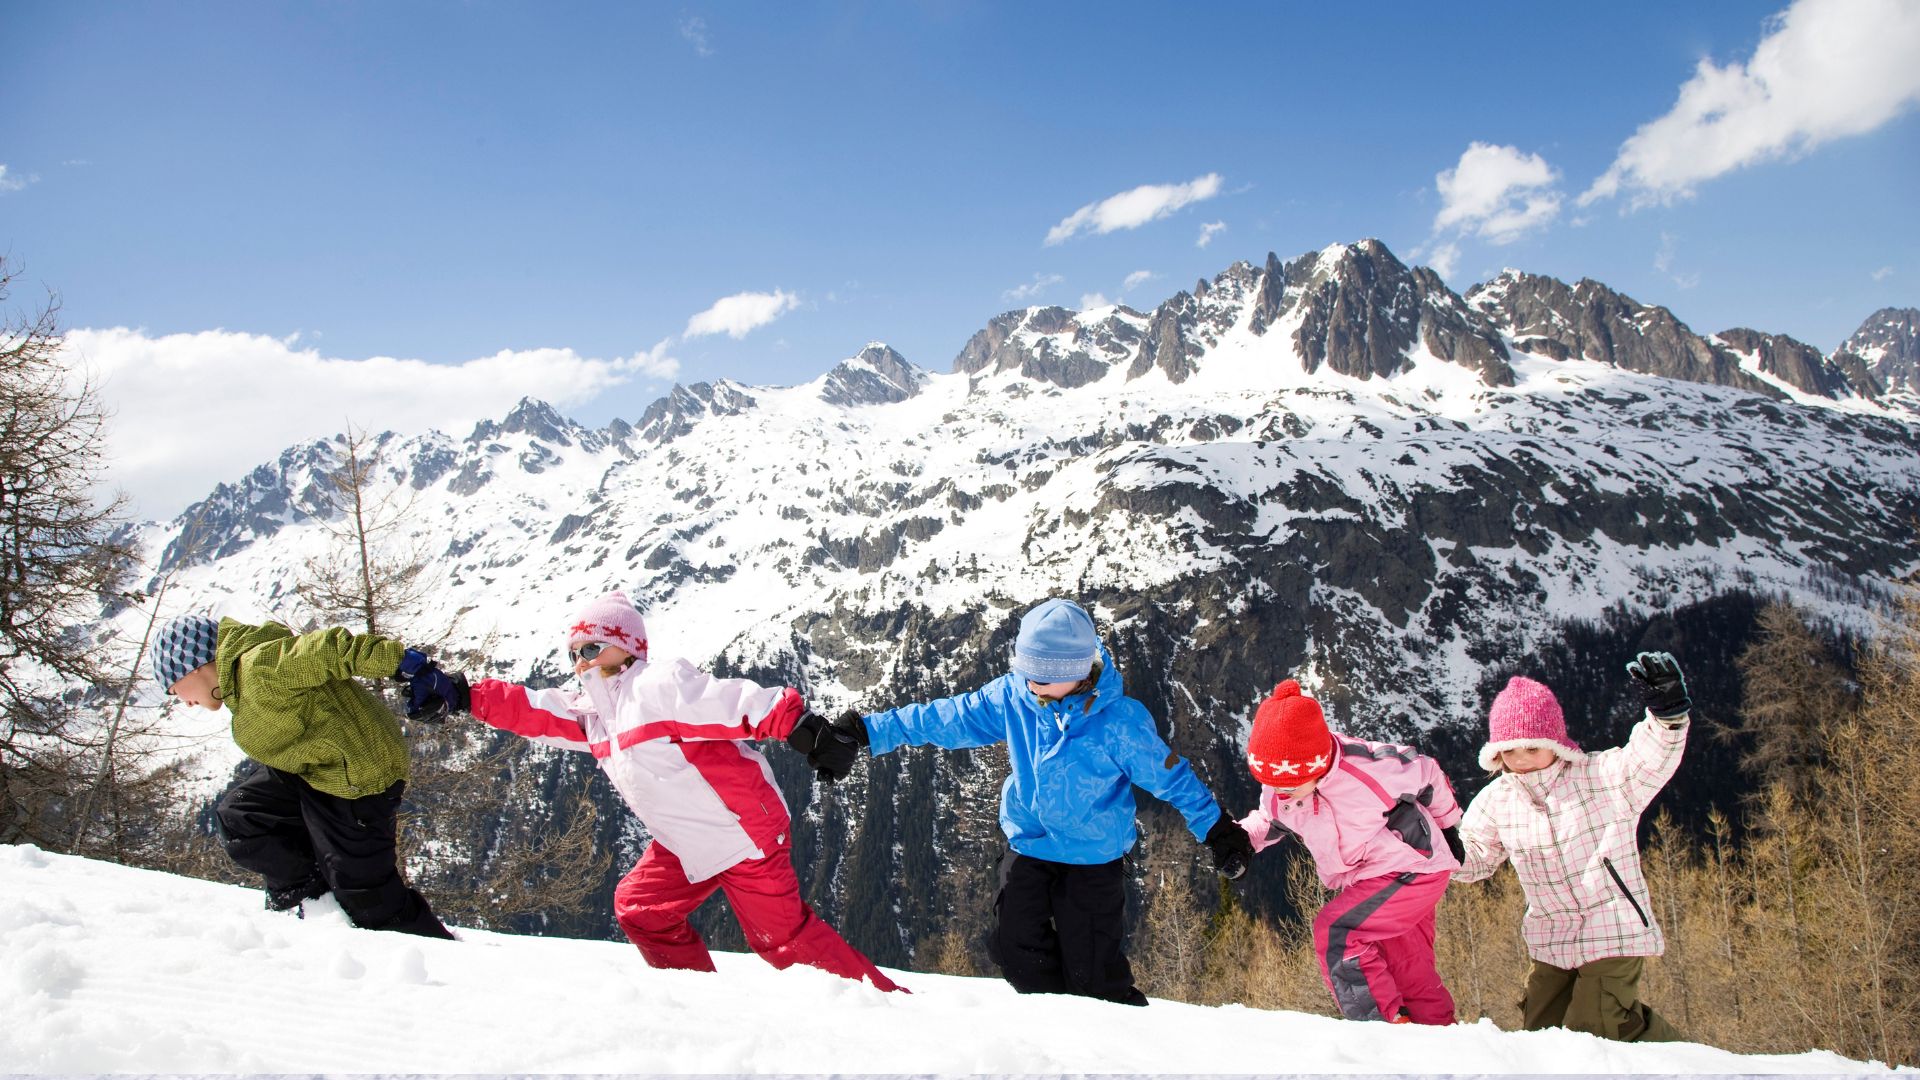
Best Kids Ski Schools: A Parent’s Complete Guide
Teaching your child how to ski is about more than just learning a new sport—it’s...
read More
Adventure Ski & Snowboard School: Everything You Need to Know
Winter sports offer more than just excitement—they create confidence, discipline, and unforgettable experiences. Choosing an...
read More
Best Ski Schools for Kids: What Truly Matters for Young Skiers
When children learn to ski the right way, it can shape how they feel about...
read More
Understanding Skiing Boarding Schools and How They Work
Education does not always follow a traditional classroom-only path. For students who thrive in structured...
read More